Hello, crafty friends!! I hope this finds you all well!!
I have a fun pop-up card to share with you today!! Full credit to Jennifer McGuire for the great instructional video on how to create this fun, dimensional card.

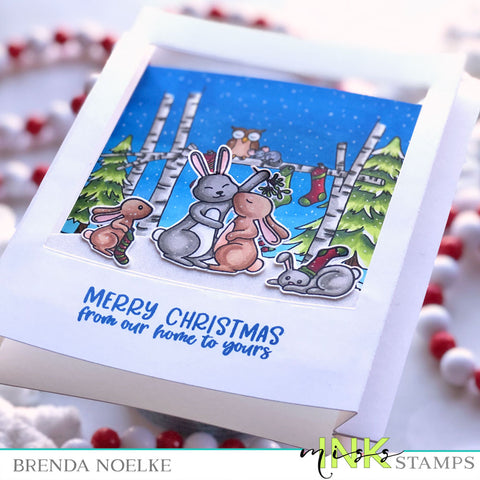
I began by trimming white cardstock into two 6.25" x 5.5" panels. I scored at .5" & 1" from each side of the 6.25" length, folded and reinforced the folds with a bone folder. The large image from the Woodland Hearth stamp set was stamped onto one of the panels with Copic-friendly black ink. Three of the characters from the same set were stamped onto another panel of white cardstock.

I colored the images with lots of Copic markers. It would probably be easier to list the Copics that I DIDN'T use...ha!! Here are the colors that I used: sky: B06, B05, B04, B02; snow: B00, B000, B0000; stockings, R39, R37, R35, R29, YG17. YG25, YG01, evergreen trees: YG17, YG25, YG01, E39, E37, E35; birch trees: C5, C3C1; bunnies: E15, E13, E11, E21, E02, E00 W7, W5, W3, W1; owl: E39, E37, E35, E02, E00; mouse: C5, C3, C1. Once all of the images were colored, I fussy cut the critters.

Next, I stamped the sentiment, also from Woodland Hearth, onto the front of the other scored and folded panel with blue ink. I freehand cut a snowbank from white glitter cardstock and adhered it to the back of the panel, then adhered my critters to the front of the snowbank.

All I had to do was adhere the outer flaps of each panel together. I added in some snow with a white gel pen and called this one done!!

This folds flat to fit into an A2 size envelope, but pops up when the recipient pulls it from the envelope. I just love dimension on my cards and this really fits the bill!!
Thank you for spending a bit of time with me today!! Have a great week!!