Hello! It's Kari and today I'm excited to share a highly requested video: Masking Techniques with the Teacups Set. I love this set so much, and I got a little carried away with my samples: I made FIVE cards today in this video!
I hope you enjoy it as much as I enjoyed making it. Watch the video below or in HD on YouTube:
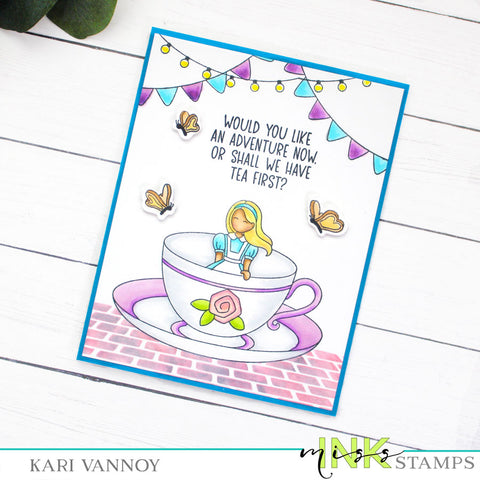
I started out with some advanced masking techniques (which are actually REALLY EASY) to get Alice to fit just right in the center of the Teacup. The "bread and butterflies" are from the Wildflower stamp set.
Next I shared how the images fit precisely in the teacup without using extra masking...did you know that they are labeled "left" and "right" on the acetate itself so you know just where to put them? This might make more sense in the video, so please check it out!
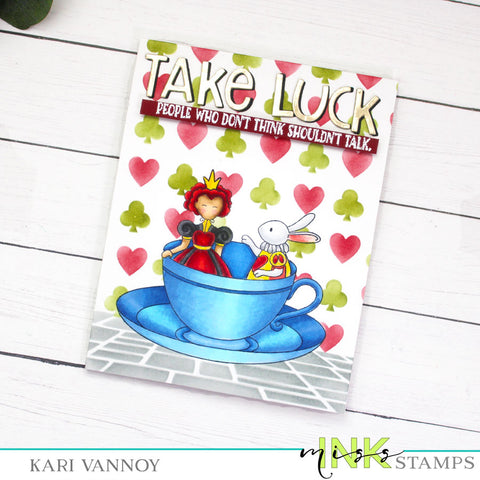
The Pick A Card Layering Stencils were fun to change up a bit: I only used the clubs and the hearts from this stencil for the background.
I used the alphabet from the EIEIO Frame Die set to create my own sentiment. This is a combination of "Take Care" and "Good Luck"...both of which you will need when talking to the Queen of Hearts!!
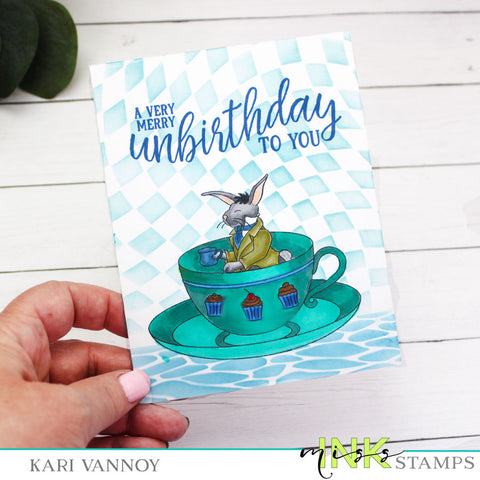
I then shared another technique for getting ANY ALICE COLLECTION image to fit inside that teacup with masking. I used the March Hare from the Tea Party Stamp set for this card. It's so fun to find more images that will look cute in a teacup! Lol.
For the background, the Wonky Checker stencil in an Alice blue was my favorite.

I then shared some easy ways to use the diecuts to get some great dimensional and easy looks. I really love this Croquet stamp set! The Hi Swirl Frame Die was the perfect ribbon frame for this card.

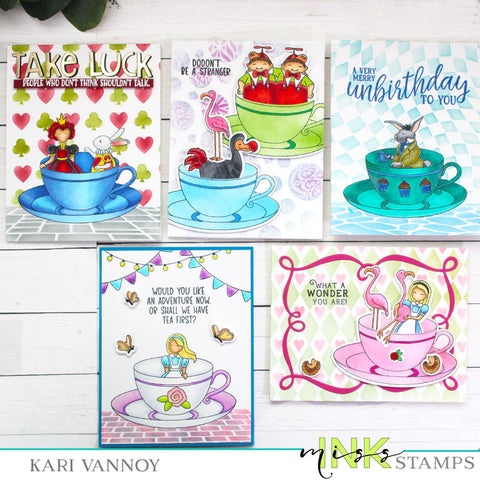
For this card I fit Dee and Dum inside one teacup (with only minor stamp surgery...sorry about that leg, Dee). Then the Dodo and a flamingo in the other teacup. This is still an A2 sized card and I was able to fit two of them! I think next a slimline card with LOTS OF TEACUPS would be super cute.
I hope you enjoyed these projects and the video! See you soon with more cards to share,
Kari