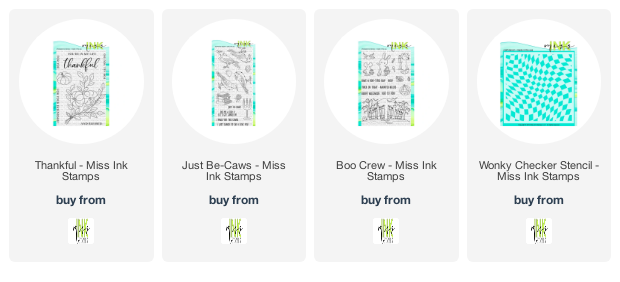
Welcome back! Lisa here and this month I've been playing with some Ranger Ink Distress Embossing Glazes and sharing with you what I've learned so far! I've used the Just Be-Caws, Thankful, and Boo Crew stamps sets along with the Wonky Checkers stencil. Here's how I made this one:

I started by cutting a slimline panel from Watercolor Paper using this die set from Trinity. I placed it in the Misti and stamped the Thankful image off the edge on the bottom left and top right hand corners using Ranger Archival Ink (a good ink to use when you plan on doing some water coloring).

I applied some Distress Oxide Inks in Spiced Marmalade and Wilted Violet using a heat gun in between to dry the colors because in this case I didn't want these two colors to blend too much because they will become muddy.

Next, I used a water brush to lift the ink off the image. I prefer this to masking my images especially when I don't need a totally clean image. I love the added interest and tones you get when you add color back over the top. You just take your water brush and wet the image and then dab a paper towel while it's wet and it will lift off the distress oxide.

Then I took a piece of plastic packaging out of my trash bin and smooshed some Distress Ink onto it and used the water brush to add color back to my images. I used Bundled Sage and Peeled Paint for the leaves and Spiced Marmalade and Vintage Photo for the pumpkins. The Distress Oxides will leave a bit of a film over your lines which I didn't mind because I knew I'd be applying lots more mediums over the top. If that bothers you can use regular Distress Inks to avoid it. I used a mixture of both because I don't have all colors in both types and I was quite happy with my finished piece.

Then I took the Wonky Checkers stencil and first blended some more Spiced Marmalade through it. I wiped it off and then used the Ranger Emboss It Dauber to apply some embossing ink. I removed the stencil, added some Distress Embossing Glaze in Vintage Photo and heated it up to a pretty glossy finish! Since this stencil is not a slimline size, I opted to fade it out at the top so I could flip my piece over and do the same to the top side.

Since the Embossing Glaze is translucent you can go right over the top of your image with it and still see your lines through it!
When I was done with all of that I did splatter on some water over the top and dab it with my paper towel. Then I blended a bit of Black Soot Distress Oxide Ink all around the edges. A splatter of Distress Oxide Spray in Wilted Violet (I shook it up, removed the top and used a paint brush to splatter for a little more "control"...lol) and dabbed that as well. And finally I sprayed on a little water infused with Ink on 3 Liquid Pixie Dust for a little sparkle.

Next I heat embossed the ravens from the Just Be-Caws set in black onto watercolor paper as well as a few of the leaves from Thankful. I watercolored those with Distress Oxides as well (the ravens in Black Soot and some Wilted Violet and the leaves in Peeled Paint. Cut them all out and placed my bottom raven onto the bottom edge of the card along with some of the leaves. I knew I didn't want a white edge on these so I cut close to the embossing and then filled in any white with black marker (those stems were tricky!)

I built my sentiment by heat embossing two of the sentiments from Just Be-Cawsand the Have A Boo-Tiful Day from Boo Crew in white onto black cardstock. I cut out the phrases I wanted by hand and then added it to a layer of purple. They were popped up onto the center of the card and then I added my second raven as if he was standing on the sentiment. I decided a light green glittery heart would be perfect for him to hold bringing some of the brighter green into this area and you know ravens love sparkly things! I added a few more leaves to the top for balance and some sequins and done!

Whew! That seemed like a lot... and it was... a lot of fun!! Seriously... my table was a mess when I got done here, but it was so fun to play with all of these different mediums in my stash and to get a little grungy! I did watch this video from Creativation before I started playing and thought you might like it too!
I hope you enjoyed your visit! I'll be sharing another Miss Ink card on IG tomorrow using the Distress Embossing Powders and a few other things! Hope you'll give these a try!

