Hello there, Marine here with a fun and colorful swinging card. I used the streamers stamp set, the pinata party stamp set and also the sunburst stencil to create a fun and colorful card.
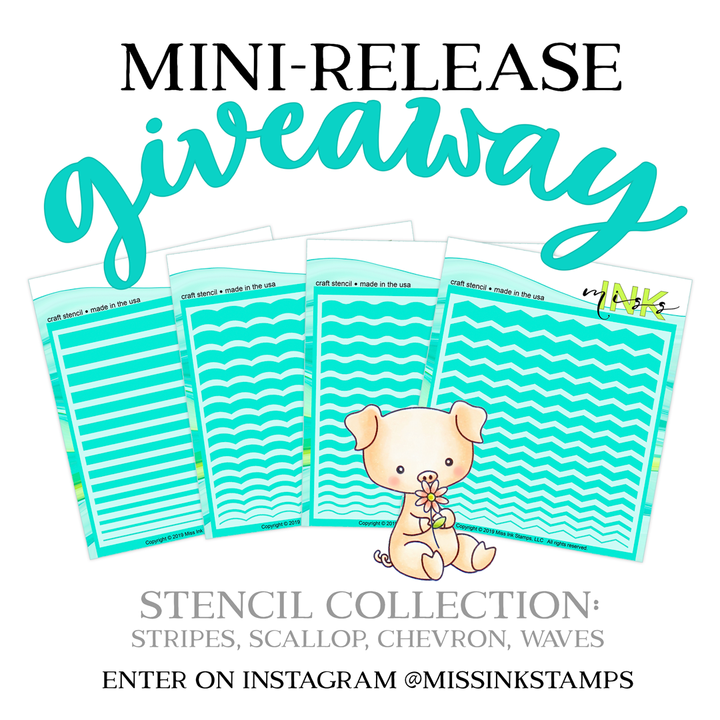
There are also four new stencils available at Miss Ink Stamps, and a set of these is part of a giveaway, so check MIS instagram for a chance to win them. Good luck!
There are also four new stencils available at Miss Ink Stamps, and a set of these is part of a giveaway, so check MIS instagram for a chance to win them. Good luck!
I started with the images that I stamped on Neenah solar white cardstock using memento tuxedo black ink, and cut using my Scan n cut machine. And of course I used my beloved alcohol markers to color them.
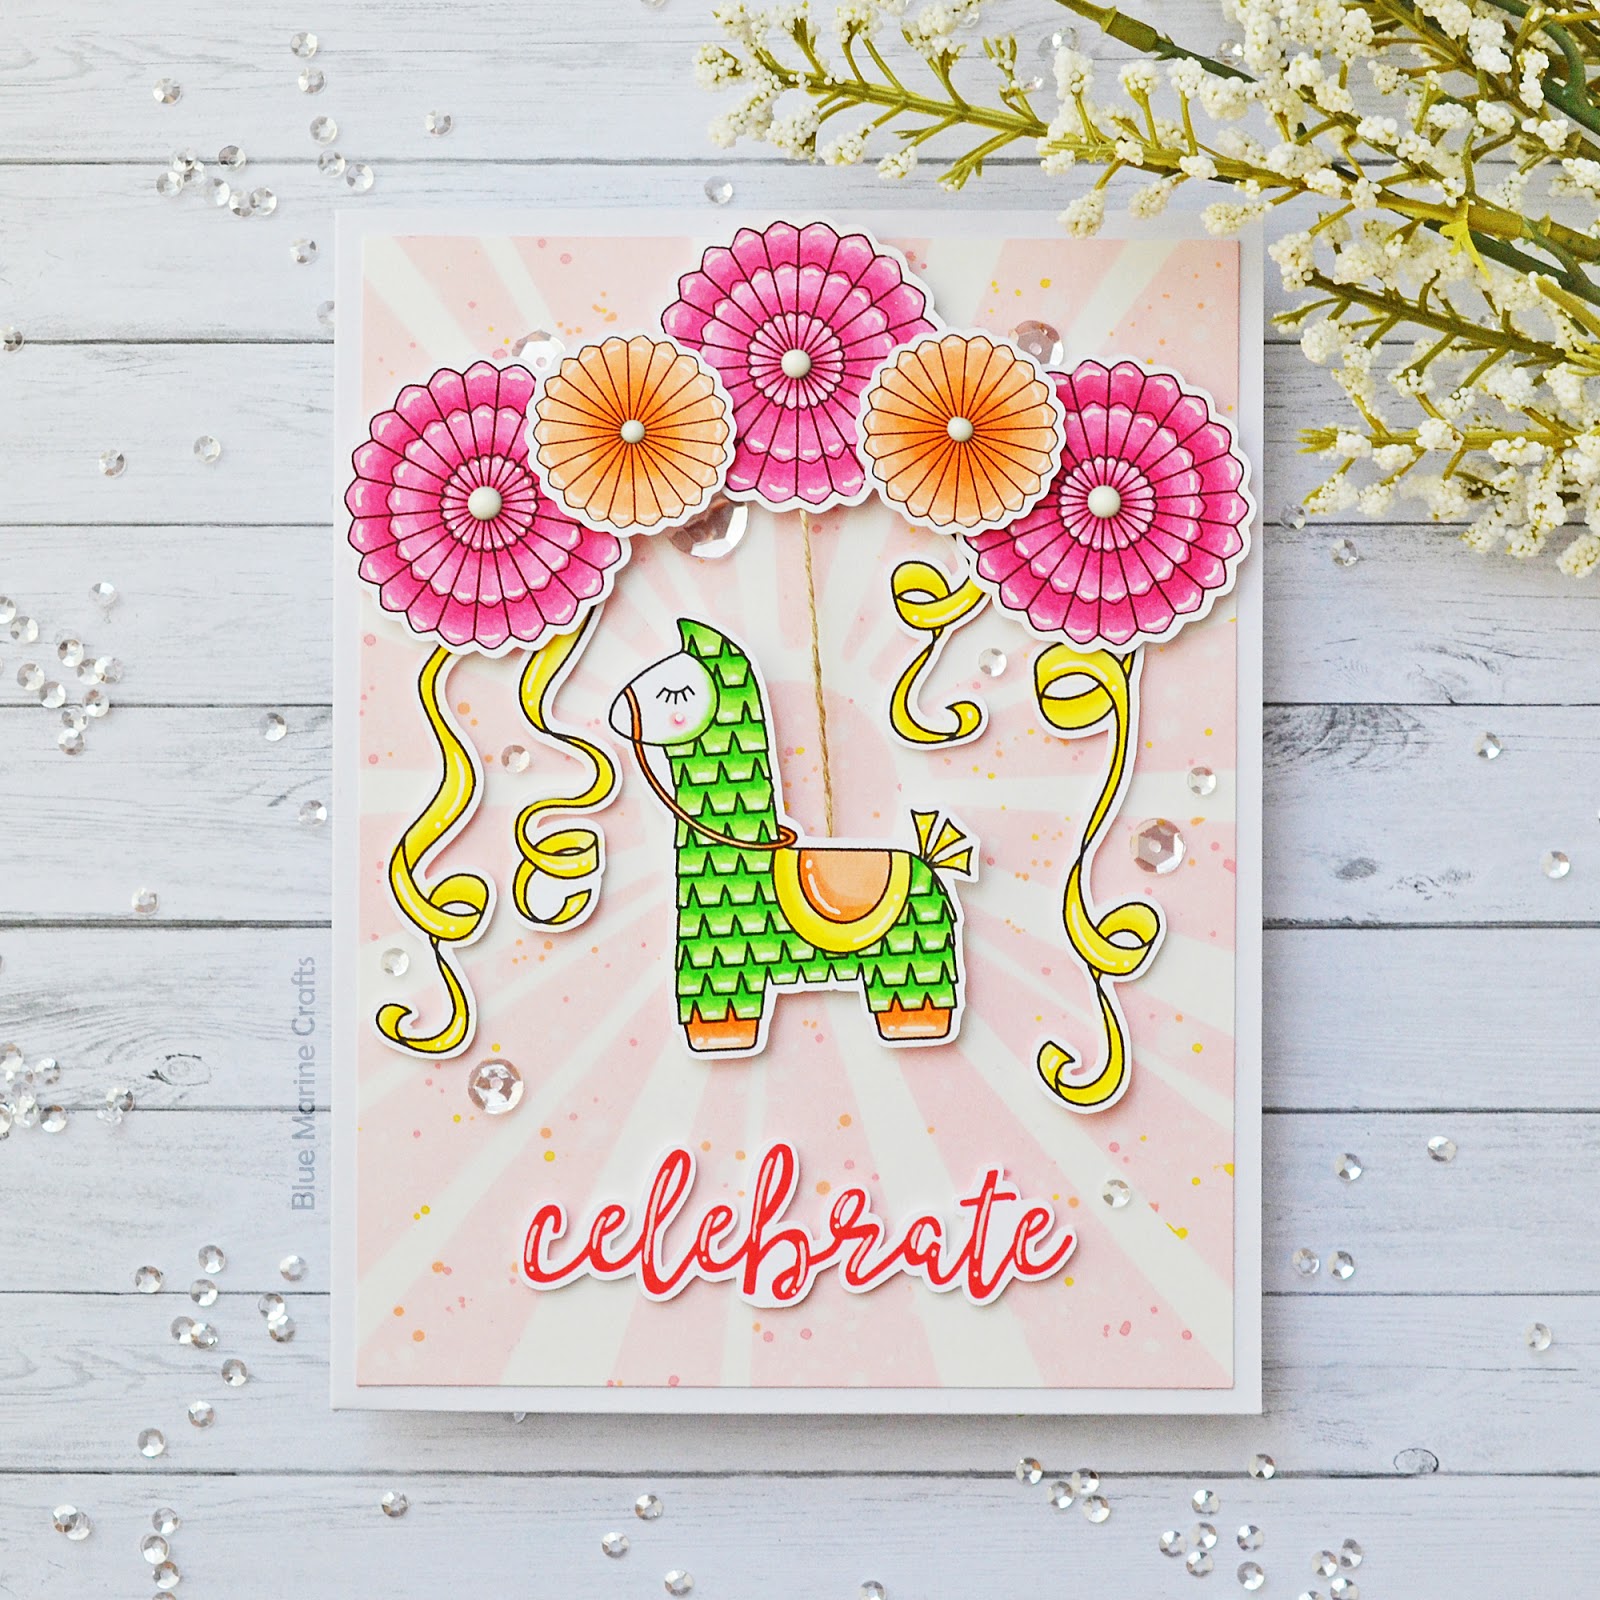
When the coloring was done, I used the sunburst stencil to apply spun sugar oxide ink on a bristol panel. And with the stencil still in place, I splattered drops of dried marigold, mustard seed and worn lipstick oxide inks to add a pop of color and to match my images.
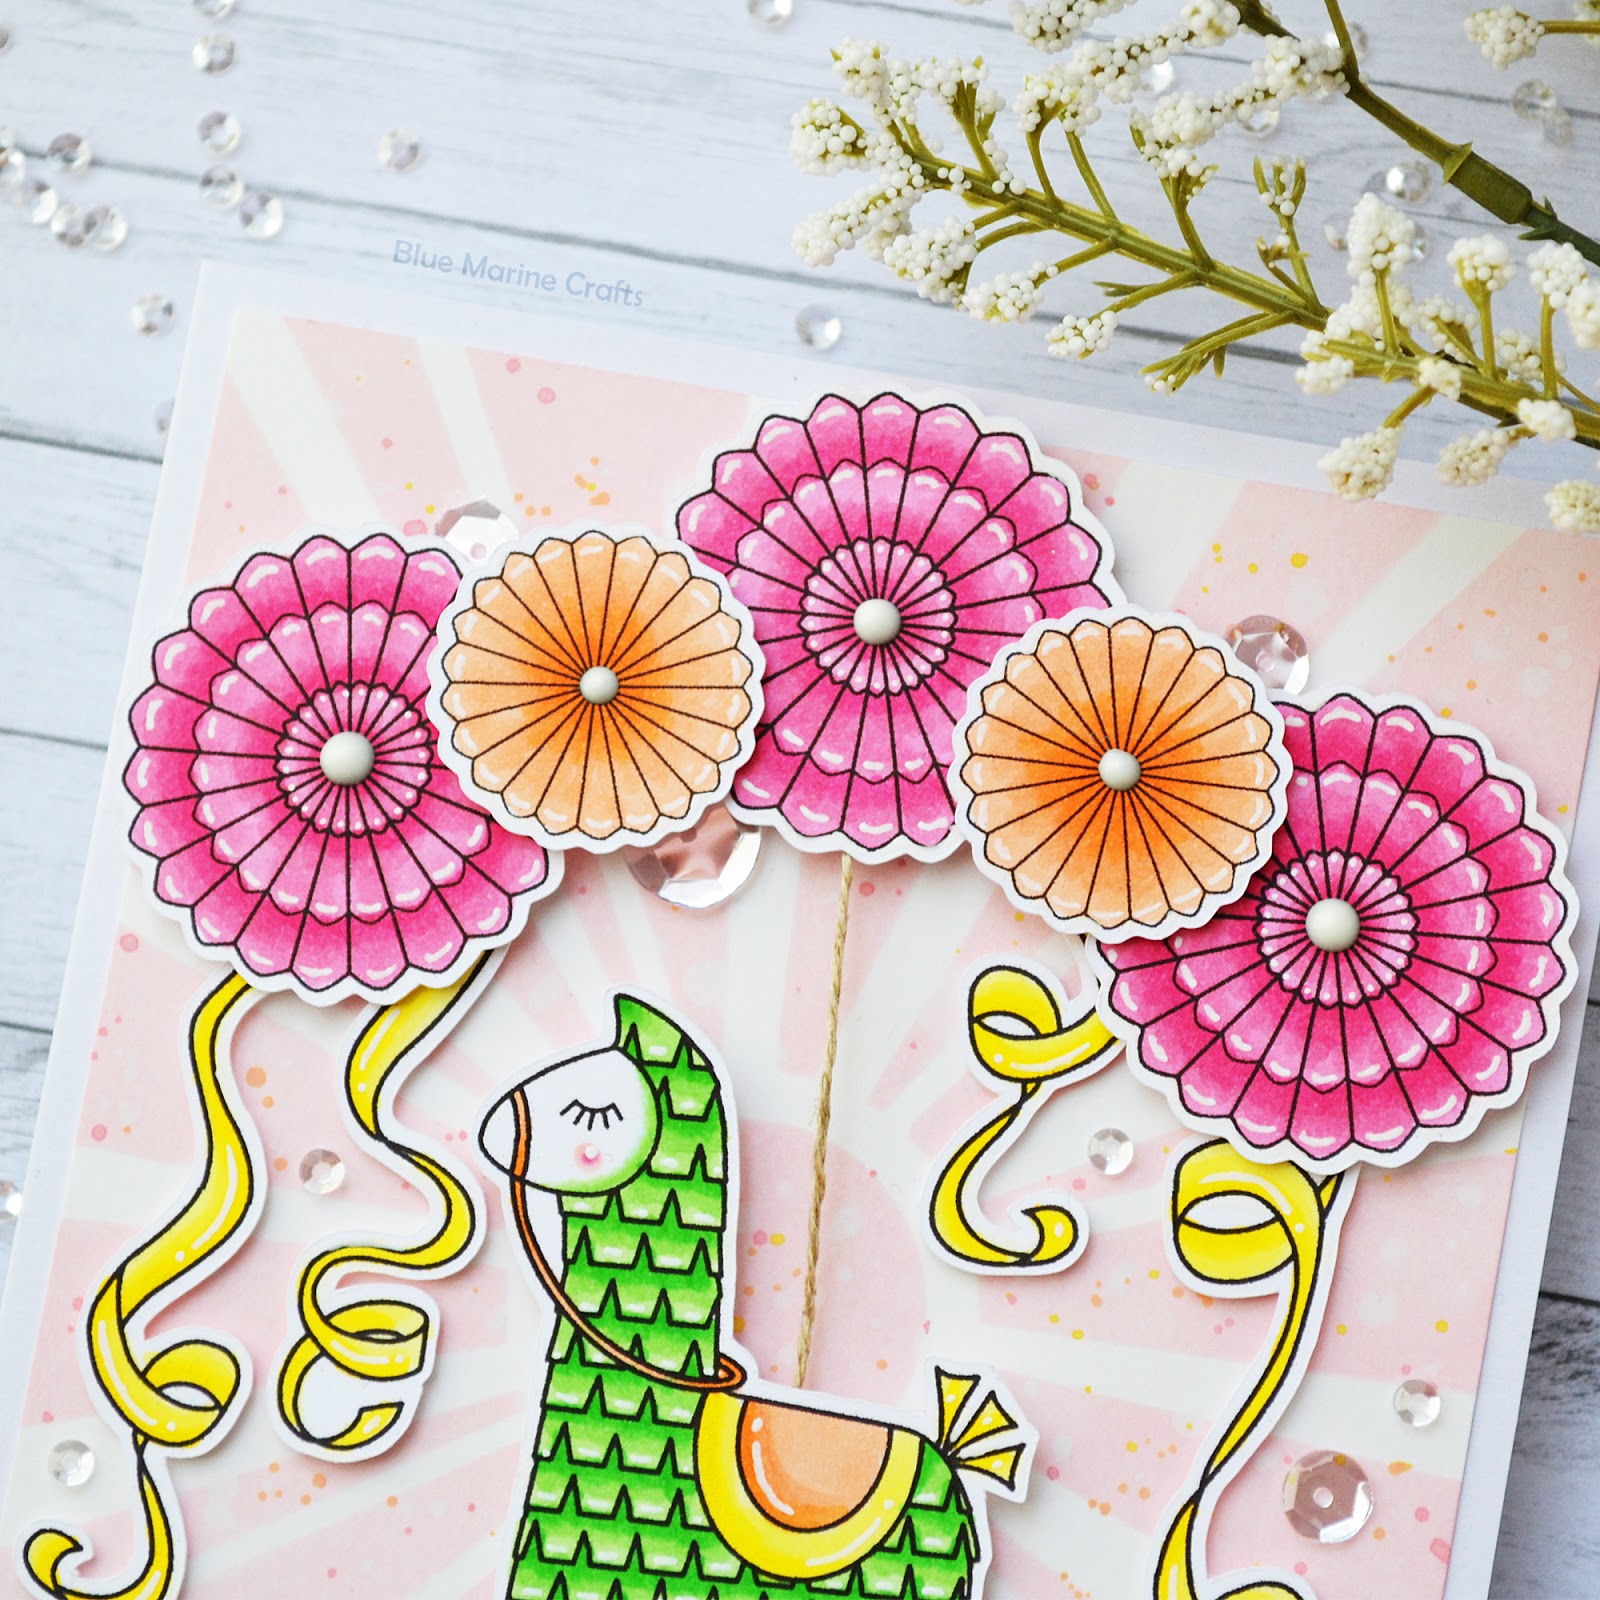
I placed the rosettes at the top of my panel, marked the center of the middle rosette using a pencil, and punched a hole on this pencil mark. And I also punched a 1,5cm circle out of some cardstock.
Next I took some twine and attached one end on a large glue dot. On this glue dot I stuck a cent, and I adhered this cent at the back of the piñata.
I took a foam square that I trimmed to create a foam circle, placed the 1,5cm circle behind the hole in my panel, and adhered the foam circle. To get more stickiness, I stuck a small glue dot on this foam circle, attached the twine, I added another small glue dot to secure the twine, and finally attached a second circle to be able to stick the middle rosette.
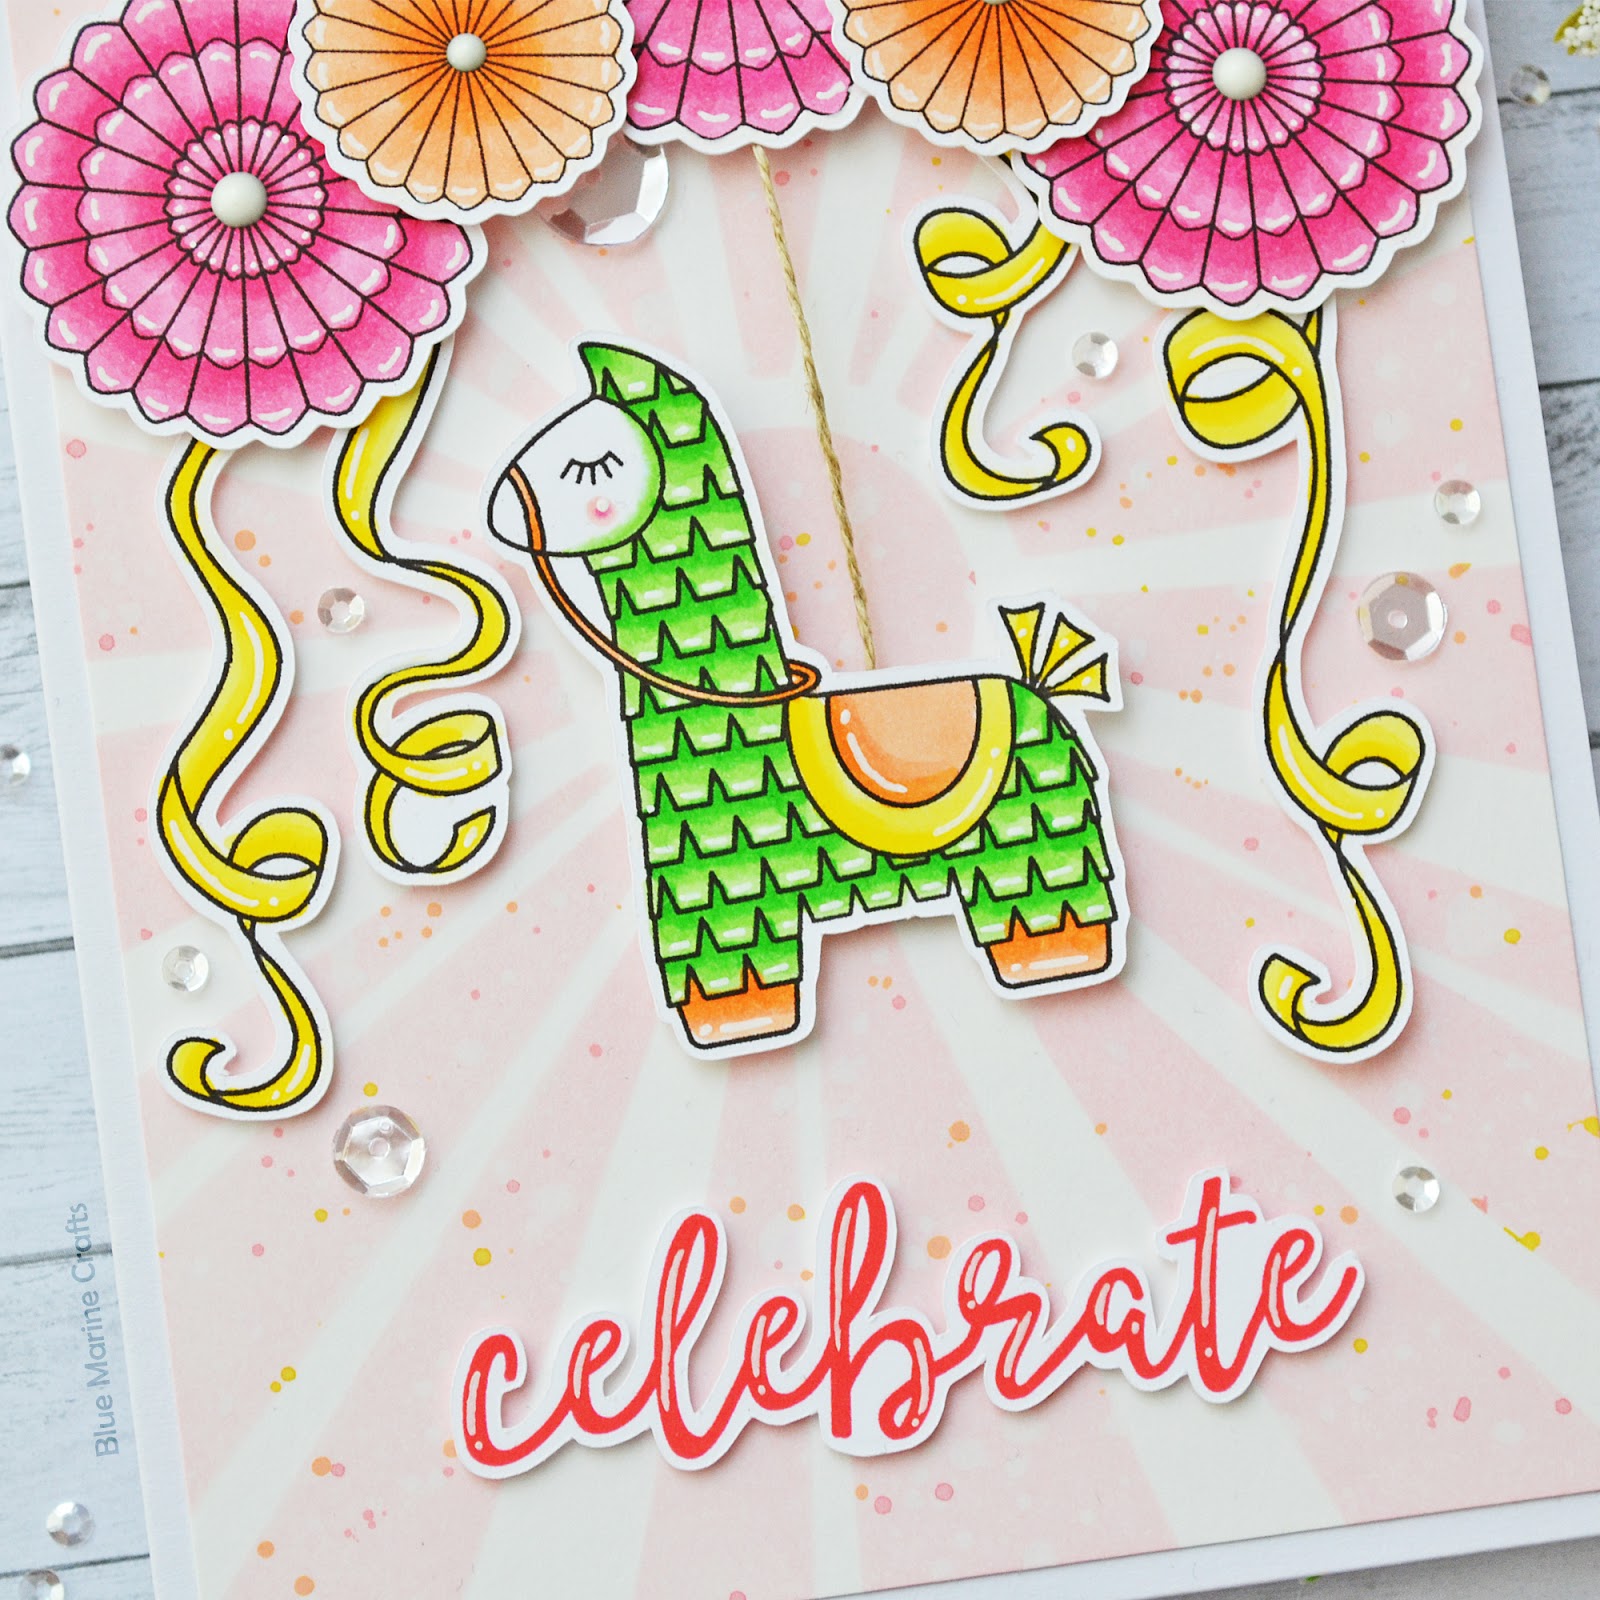
Next I attached the other rosettes and the streamers using foam squares. The streamers are used to stop the piñata from swinging to high. I attached my sentiment using foam squares, added white highlights on the images, adhered my panel to a white card base, and finally applied white nuvo drops in the center of each rosette and glued some clear sequins here and there.
And that's it. I leave you with the video, have a beautiful day, and see you next time!
And that's it. I leave you with the video, have a beautiful day, and see you next time!